Jolly Green FL
  • Home
  • About Worms
  • HowTo Videos
  • Press
  • Contact Us

The Wormdorf Astoria Setup

Picture
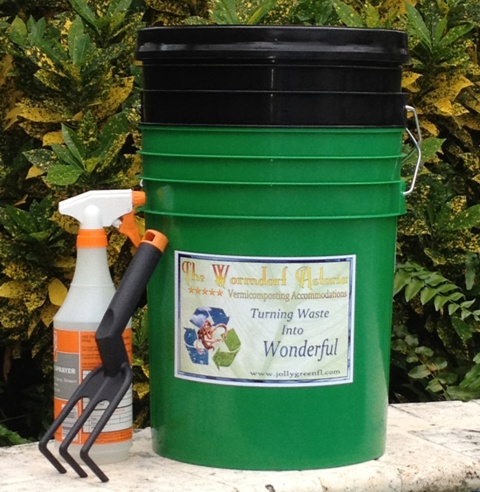
_ If you prepare your bucket the same day you order your worms it will be in great shape to add them upon arrival. A pound (@ 1000) Red Wiggler Worms is a good start for this system. They will multiply rapidly.
  • Place a full sheet of moist newspaper on the bottom grate.
  • Soak a combination of shredded newspaper and cardboard in a bucket of water (rainwater preferable) for 10 minutes.
  • Wring out excess water from mixture and separate/sprinkle into bucket to fill approximately 6-8 inches.
  • Add food scraps chopped up into small pieces. Sprinkle around.
  • Foods to add: fruit scraps, vegetable trimmings, egg shells, coffee grounds w/ filter, tea bags, occasional bread/pasta
  • Foods to avoid: meat, dairy, onions, spicy foods, candy, oily cooked foods
  • Sprinkle in a handful of dirt from your yard.
  • Add dry shredded newspaper on top (6 inches). Helps prevent fruit flies.
  • Add your worms to the top when they arrive and they will descend down into their new home.


Now that the bucket is established all you need to do is add food, moisture, and fresh bedding as needed.
  • Every 3-5 days pull back the top bedding to check the food supply. Once it begins to disappear add clumps of new food alternating locations from side to side. This will accelerate as the worms multiply.
  • Give a few sprits of water to keep the lower area moist.
  • Once a week check the bottom bucket for worm tea (black liquid). When present just fill the bucket with water (rainwater preferable) and pour on to any plants. Scoop up a cup to pour on indoor plants.
  • Over time the top bedding will wear down. When this occurs add food on top of it and add new fresh shredded newspaper to the top.
  • Continue this process until the bucket is full. Stop adding new food scraps. Let the worms finish breaking down the materials for a few weeks. Keep checking the worm tea each week. Keep adding light moisture so the worms don't dry out.


Once the bucket is processed it is time to harvest your castings (worm poop).
  • Empty contents of bucket on a flat surface, preferably covered in plastic.
  • Sort in many small piles.
  • Using a bright light (not sunlight) over the piles the worms will dive down allowing you to scoop off the top layers of castings. Continue until you are left with small piles of worms.
  • Rebuild your bucket to start fresh while you wait for the worms to hide in their piles.
  • Add your worms to your new bucket, distribute them if you have other buckets, or give some to friends to start their own bucket.
  • Castings can be stored moist in a plastic container for up to 6 months. Spread them in small amounts around your plants and in your garden.

Web design by www.mywebbeginning.com